Search
How to use a whiteboard for brainstorming and gathering ideas
One of the major uses our clients make of our whiteboard range is brainstorming, or more formally the gathering and analysis of ideas – typically, to solve a specific problem or issue. Sometimes this is part of a bigger project, sometimes it’s a one-off activity. Usually, getting the whiteboards is the easy part. Working out how to make sense of the vast number of ideas a creative team can come up with can be much harder.
LVT – LogoVisual Thinking
Here at Logovisual our favourite method is Logo Visual Thinking (LVT). Yes, you guessed it – we like it so much we named ourselves after it. In this post we’re going to give you a very quick explanation of how to use LVT to gather ideas from a team, and make sense of them.
In our experience, LVT provides a process to quickly engage people in generating a collective understanding of a problem or opportunity, and move them to the best set of conclusions or actions. It is a democratising process – it enables people to think together; it supports individual and group thinking in a public shared space. It is a technology that supports dialogue.
The LVT Process
There are five standard stages in the process.
- Focus – identifying the question that will focus the ideas. Done by the facilitator.
- Gather – generating, articulating and displaying separate ideas as a relevant set as in a gathering.
- Organise – arranging and aggregating the ideas to form (separate) higher order ideas.
- Integrate – organising these ideas into a whole system.
- Realise – turning the set of ideas into a ‘willed’ outcome that the team can achieve.
The critical success factors
These are the things we have to do well if the session is to succeed:
- Choose the right participants – get the right people in the room.
- Ask good questions – the question put to the participants has to be carefully worded, in order to focus their ideas on the problem at hand.
- Understand the decision-making boundaries – it is important that proposed actions, however creative, be within the sphere of decisions that the company is likely to make.
- No loose ends – finish the workshop, get to the end of the agenda. Deal with parked topics. Put a formal ending into the workshop – review the process and its results, and let people know what will happen next, and when.
- Rapid follow-up – complete and distribute the workshop results as soon as possible. If there are any follow-on actions from the workshop itself, complete them as quickly as possible
Step 1: Focus – and prepare the participants for the workshop
You need to think carefully about the problem and what ideas you are looking for. Let’s say a new product has resulted in a larger than usual number of customer complaints. The question could be as simple as “What do we do about the large number of complaints?” (be prepared for lots of ideas) or as targeted as “Why do we think this product is more complained about than others?” (be prepared for fewer, but more uncomfortable, ideas).
When sending out the joining instructions include the question you have chosen, and ask each participant to come up with their own set of possible answers to the question, to write them down and to bring them to the workshop. Ask them to keep this an individual task.
Choose a facilitator; ideally, they would be experienced in LVT, but following the guidance below should help an experienced facilitator pick up the technique’s basics. We can provide you with a completely neutral, experienced facilitator – click here to see some options.
Getting organised to facilitate
Let’s assume that you have set the workshop up properly, and issued clear and helpful joining instructions. We suggest the following minimum kit to run an LVT workshop:
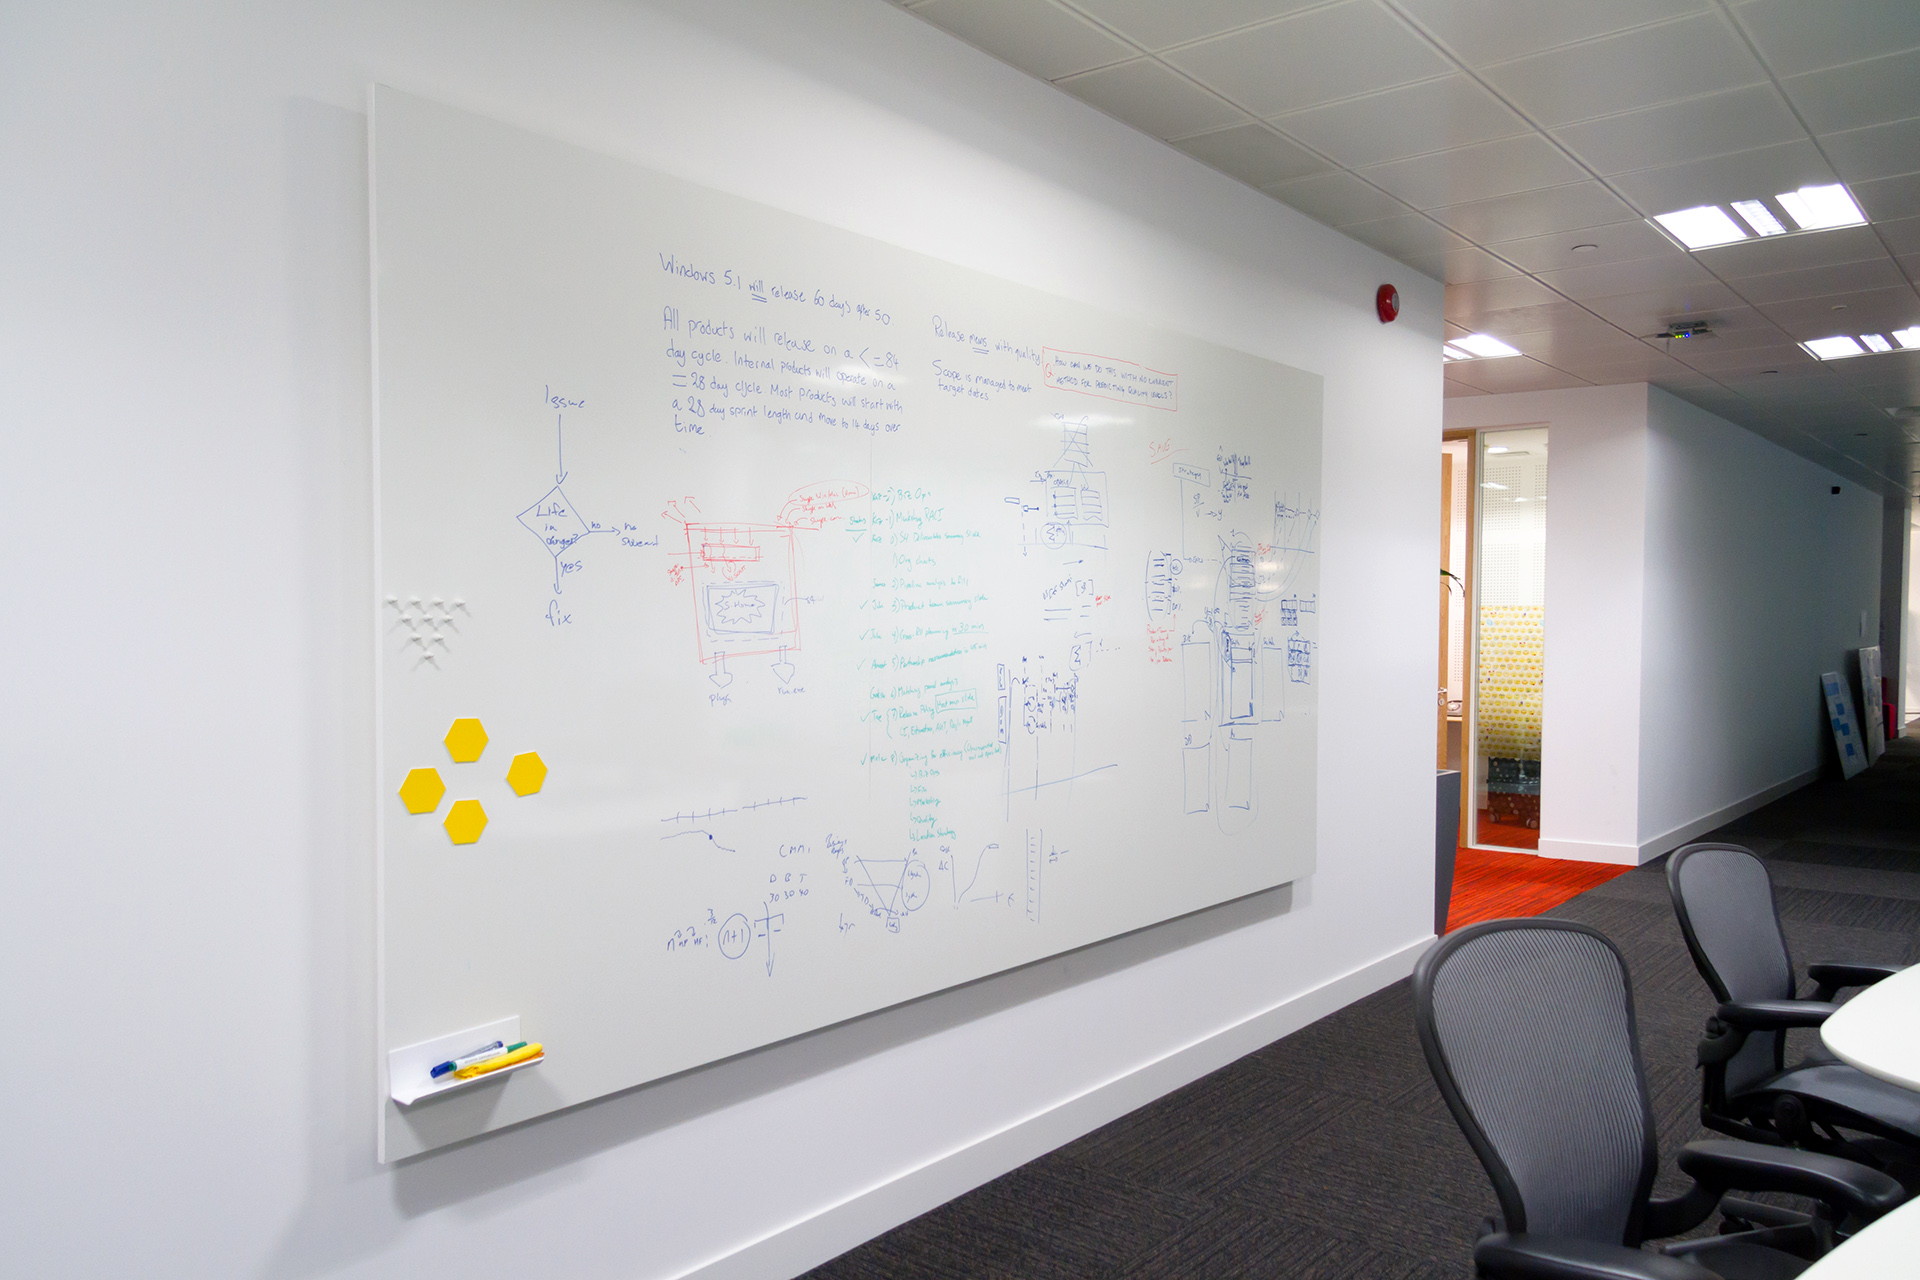
- A couple of dry wipe magnetic whiteboards. These could be wall mounted, or why not take a look at our double sided freestanding mobile boards?
- Whiteboard pens
- Magnotes magnetic hexagons (Why hexagons? Click to find out!)
Also useful:
- One flip chart, with flip chart pads
- Flip chart pens
- One laptop
- One projector
- One screen
- One remote presentation clicker
- ShareTheBoard software to make a record of the session.
We’d be happy to discuss your equipment requirements – get in touch via the form on this page.
Step 2: Gather
Now you’re in the workshop, and you’ve completed all the introductions and background. Time to address the problem.
With very large groups of people, it is normal to form smaller groups to do the gathering, each one answering the same question. In this case, you might like to add some smaller, portable whiteboards to the kit list like our Syndicate Modeller.
- Give each participant a stack of Magnote hexagons, and a pen.
- Invite each participant to write each of their ideas (from their list) on a hexagon (point-up).
- Make clear that new ideas may be added, by any participant, at any point in the Gather process, by simply writing the idea on a new hexagon.
- When everyone has completed their initial stack of hexagons, explain the gathering process.
- Invite each participant in turn, by going round the room, to offer a single idea, by walking to one of the large dry-wipe boards and placing their hexagon anywhere on the board.

- There should be no discussion of the idea, although questions to clarify its meaning can be asked, and should be answered.
- Go round the room multiple times. If a participant has no more ideas they should “pass”. They can always re-join if they have a new idea. Participants should offer all their ideas, even if they think one of theirs is “up there already”.
- Continue this until there are no more ideas.
- Confirm there are no more ideas.
- As a variation if the subject is sensitive and you judge some participants might be intimidated by putting ideas up one at a time, you can get everyones ideas up as they write, so that ownership of specific ideas is more discreet.

Step 3: Organise
- Take a deep breath.
- Ask everyone to now look at the ideas on the board for a couple of minutes, to ensure that everyone understands every idea.
- Now ask the whole group to work together to cluster identical or very closely related ideas. Clustering is achieved by putting two or more hexagons together, aligning one of their edges as a common edge.

- Do not, as a facilitator, participate in this exercise (although you can give examples if they cannot get started). Leave the group to do it themselves, physically moving the hexagons around. This is one of the powerful moments in LVT, when the group try to make sense of (get meaning from) the individual inputs.
- When the group has completed its clustering, ask them to circle each group and describe the cluster as precisely and fully as possible, in a statement that responds to the original question. (This description is called an epitome in LVT). This may force re-examination of the clusters.

- Photograph the board.
Step 4: Integrate
Skip this step if the Gathering was done by the whole group.
If the Gathering was done in groups, then in this stage the inputs need to be rationalised as follows:
- Each group should perform its own clustering. Photograph each group’s board
- Then each cluster title from each group should be transcribed to a new hexagon, and put on one of the larger dry-wipe boards.
- These can then be re-clustered (these clusters are likely to be smaller than those produced by the larger group). Photograph this board.
This should be documented, either separately on a flip chart, or by colour-coding onto the dry-wipe board. If colour-coding, re-photograph the board.
Step 5: Realise
In this step we will attempt a unification of all the clusters. You should feel free to do this any way that works – we often use a ring composition diagram, but often a simple workflow-like structure will work – you can even mix and match techniques as required. Add words to your evolving diagram (e.g. on the connectors) as required.

What is important is that you find a way to summarise the totality of the ideas you have gathered. You should be able to “read” the diagram back as a short phrase. To make this work:
- Keep it simple – you’re trying to get as close to a single, unified idea as you can.
- Make it inspirational – it needs to be memorable and meaningful.
- Make it a call to action – the participants have to believe that doing what is suggested will indeed solve the problem they set out to solve. So, it has to be clear what is to be done.
Depending on the question you addressed, the output from this process :
- Should make a lot of sense to all those who participated. A few might regard it as a statement of the obvious, but what they may overlook is that what is obvious to them may not have been to all.
- May not in itself be an action plan, it may be more an affirmation, a statement of intent or possibility – so you may need to have a follow up session to look at the who, what, how and when.
Close the workshop
You can now close the workshop by recapping the process you have gone through, reviewing the outputs, and explaining the next steps, including the immediate post-workshop distribution of documentation.
Try ShareTheBoard for free
ShareTheBoard software captures handwritten content on whiteboards in real time, making it instantly visible to remote participants and people who cannot use a physical board. The perfect complement to the ThinkingWall range, ShareTheBoard offers automatic content saving, intelligent transcription, and interactive remote access, making contribution to the session accessible and easy for everyone.
Get a 7 day free trial of ShareTheBoard software.
Words by Richard Copley
Got any questions?
Find out more
Relevant products

ThinkingWall® Freestander
A frameless magnetic mobile whiteboard, the ThinkingWall® Freestander is ideal for flexible working in small groups. It is highly manoeuvrable and easy for one person to move around.

Whiteboard Accessory Kit
Our whiteboard accessory starter kit contains everything you need to get started with a new whiteboard. The kit includes:
1 No. Magnetic pen tray
1 No. 100ml whiteboard cleaning spray
2 No. Drywipe marker pens
1 No. Microfibre cleaning cloth
1 Pack of 30 No. 3 inch hexagon Magnotes

ThinkingWall® Divider
A double sided mobile whiteboard wall, providing a large drywipe and magnetic receptive working area to aid collaboration in your office or workplace environment.